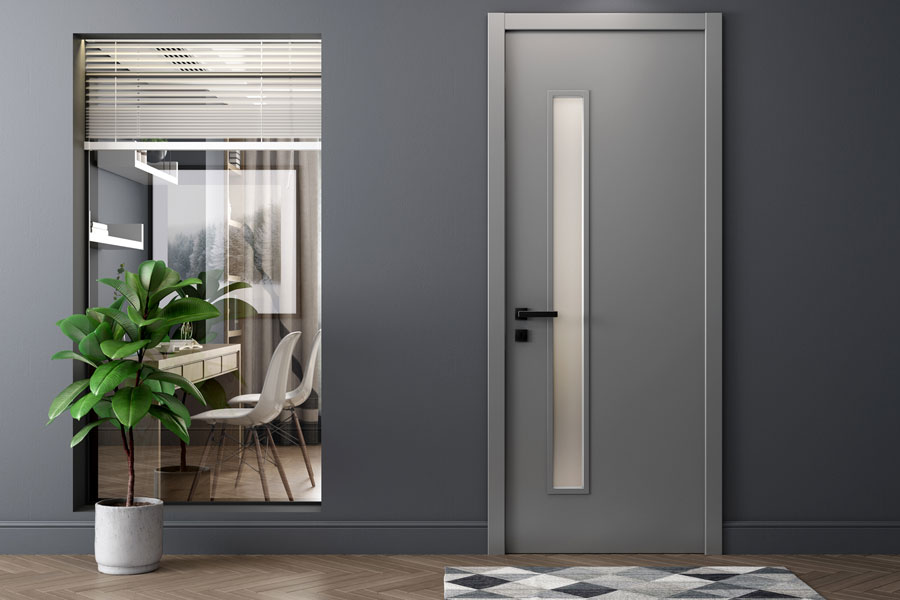
Interior doors are such a part of our daily lives that we hardly pay attention to them. Yet a well-chosen and properly installed interior door can enhance the decor and is likely to be noticed. Selecting the right model is therefore important.

Read our interior doors buying guide for more information.
1.1 - Measure the width and height of the opening.
1.2 - Subtract 1½" from the width for the head jamb, i.e. the thickness of the two vertical jambs nailed on either side.
1.3 - Cut the door jambs according to your measurements.
1.4 - Assemble the door frame on a flat surface.
1.5 - Glue and nail the head jamb between the two side jambs.

2.1 - Place the door frame in the opening.
2.2 - Insert cedar shims firmly between the jambs and the wall on both sides, one below the other.
2.3 - Use a level to make sure the side jambs are perfectly vertical. Adjust as needed.
2.4 - Assemble, and drill screws through the frame and shims to hold them together, but do not tighten.
2.5 - Measure the horizontal space between the jambs at the top, in the middle, and at the bottom. The measurements should be identical so that the door slab fits perfectly. If not, back out the screws and readjust the shims.
2.6 - Tighten the screws to secure the door frame to the wall studs.
2.7 - Trim off the shims with a utility knife.

3.1 - Place the door on its side between two sawhorses.
3.2 - Determine the location of the hinge butts and draw the outlines on the door edge.
3.3 - Measure the distance between the two hinges.
3.4 - Transfer these marks onto the door frame. The position of the bottom hinge must take into account the gap of approximately ½" between the door and the floor.
3.5 - Score along the line with a utility knife to clearly mark the area.
3.6 - Using a router or wood chisel, hollow out the thickness of the hinge.
3.7 - Put in the hinge and check that the surface is perfectly smooth and flat. Adjust as needed. The hinge must be flush with the edge of the door.
3.8 - Drill the holes and screw the hinges to the door with the screws provided.

4.1 - Place the door in the frame.
4.2 - Slide shims under the door slab to make it level.
4.3 - Check that the marks on the door frame match the position of the hinges on the door slab and adjust if necessary. Remove the door from the opening.
4.4 - Using a router or wood chisel, hollow out the hinge notches on the door frame.
4.5 - Place the door slab back into the door frame and screw in the door hinges.
4.6 - Check that the door is plumb and that it swings freely without rubbing on the door frame.

5.1 - Place and stick the handle template on the door, approximately 36"from the floor.
5.2 - Bore the hole for the handle using the drill and hole saw bit. Refer to the template for the size of bit to use. Hold the drill straight.
5.3 - Smooth the edges with sandpaper.
5.4 - Drill the latch hole in the door edge with a 7/8" spade bit.
5.5 - Drill right up to the handle hole.
5.6 - Insert the latch assembly in the hole and mark around the plate on the door edge.
5.7 - Cut the recess with a wood chisel.
5.8 - Insert the latch plate and assembly in the hole, and screw in place.
5.9 - Place one handle opposite the hole on one side of the door.
5.10 - Place the other handle and mounting plate on the other side. Insert the spindle through the central latch.
5.11 - Fasten the mounting screws.

6.1 - Put some chalk on the tip of the latch.
6.2 - Close the door and mark the spot where the latch touches the door frame.
6.3 - Place the strike plate on the door jamb and trace around it.
6.4 - Cut the mortise with a chisel or router.
6.5 - Replace the strike plate and check that it is perfectly flat and flush.
6.6 - Mark the hole for the latch and remove the strike plate.
6.7 - Drill the hole for the latch with the 7/8" spade bit.
6.8 - Screw in the strike plate.
6.9 - Check that the door opens and closes properly

7.1 - Close the door and determine where to position the door stop moulding at the top and on each side of the frame.
7.2 - Measure and cut the door stop moulding.
7.3 - Close the door and nail the door stops around the frame with finishing nails.
7.4 - Set the nails with a nail punch and fill the holes with wood filler.
7.5 - Install moulding to cover the door frame.

 Call us on:
  Email Us:
  No.88 Fulian Rd , Shilou Town ,
Panyu District , Guangzhou ,
Guangdong , China